
Introduction to Adobe Premiere Pro
Adobe Premiere Pro is an industry-leading video editing software designed for both professionals and beginners. With its versatile features, you can create everything from social media clips to full-length feature films. Whether you're a content creator, filmmaker, or hobbyist, Premiere Pro offers a robust platform to bring your creative visions to life.
Table of Contents
Getting Started with Adobe Premiere Pro
Understanding the Interface
Importing Media
Organizing Your Project
Working with the Timeline
Editing Basics
Adding Transitions
Audio Editing
Color Grading and Correction
Advanced Effects
Exporting Your Video
Troubleshooting Common Issues
Tips and Tricks for Efficient Editing
Conclusion and Further Resources
1. Getting Started with Adobe Premiere Pro
Before diving into video editing, you need to set up Adobe Premiere Pro on your system. Follow these steps:
- Download and Install: Visit the Adobe Premiere Pro Official Page and choose a plan that suits your needs. Download and install the software on your Windows or macOS device.
System Requirements: Ensure your computer meets the minimum system requirements for smooth performance. A robust processor, ample RAM (16GB or more), and a dedicated GPU are recommended.
Initial Setup: Open Premiere Pro, log in with your Adobe ID, and customize your workspace preferences for a personalized editing experience.
2. Understanding the Interface
The Premiere Pro interface is designed to streamline your workflow. Key panels include:
Project Panel: Organize and access all your imported media.
Source Monitor: Preview and trim raw footage.
Program Monitor: View your edited video.
Timeline: Arrange and edit clips sequentially.
Tools Panel: Access essential tools like Selection, Razor, and Pen.
Effects Panel: Explore a variety of video and audio effects.
Understanding these panels is crucial for navigating the software efficiently.
3. Importing Media
To start editing, import your media files into Premiere Pro:
Drag and Drop: Simply drag your files into the Project Panel.
Media Browser: Use this panel to locate and import files directly from your storage device.
Import Dialog Box: Go to
File > Importand select your files.
Organize your assets into bins for better project management.
4. Organizing Your Project
Efficient organization saves time and enhances productivity:
Create Bins: Group similar assets (e.g., video, audio, graphics) into separate bins.
Label Clips: Use color labels to categorize clips by type or importance.
Rename Files: Ensure your media files have descriptive names for easy identification.
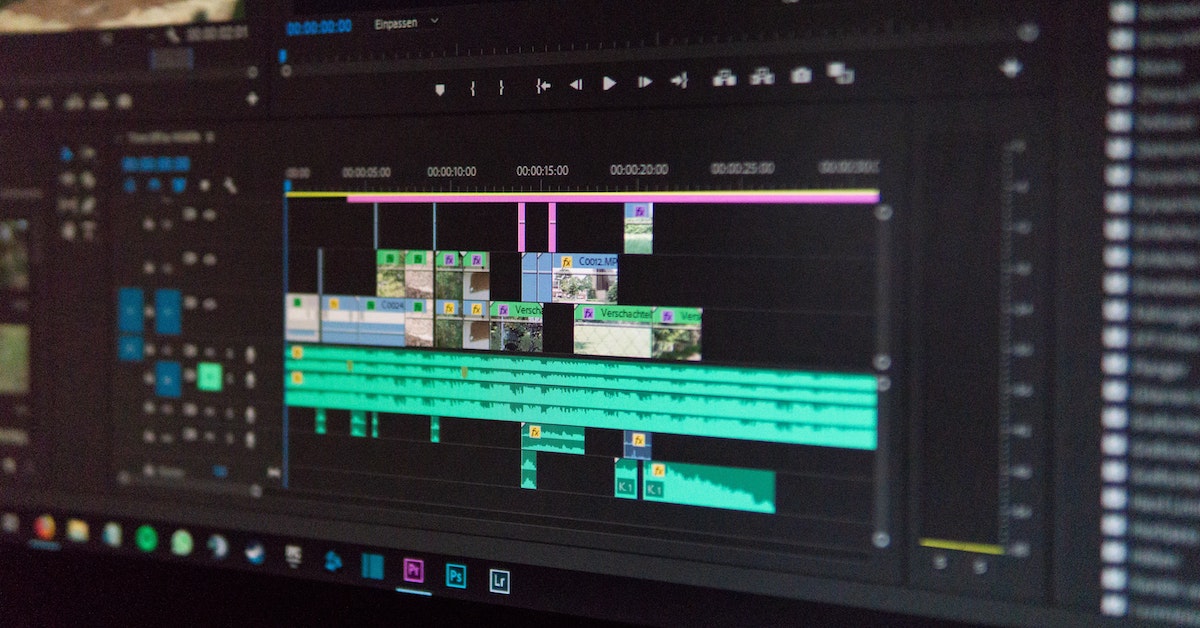
5. Working with the Timeline
The Timeline is where the magic happens. Learn these basics:
Adding Clips: Drag clips from the Project Panel to the Timeline.
Trimming Clips: Use the Razor tool to cut clips or the Selection tool to adjust clip length.
Track Management: Utilize multiple video and audio tracks for complex edits.
6. Editing Basics
Master the fundamental editing tools and techniques:
Cutting and Splitting: Use the Razor tool to split clips at specific points.
Ripple Edit: Automatically close gaps when trimming.
Snapping: Enable snapping to align clips precisely.
7. Adding Transitions
Transitions enhance the flow of your video. To add transitions:
Select a Transition: Go to the Effects Panel and choose from options like Dissolve, Slide, or Wipe.
Apply to Clips: Drag the transition onto the cut between two clips on the Timeline.
Customize: Adjust duration and alignment in the Effect Controls panel.
8. Audio Editing
Great audio is key to a professional video. Premiere Pro offers robust audio tools:
Adjust Levels: Use the Audio Mixer or Effect Controls to balance sound.
Add Effects: Apply effects like Equalizer or Noise Reduction.
Sync Audio: Use the Synchronize feature to align audio and video.
9. Color Grading and Correction
Enhance your video's visual appeal with color adjustments:
Lumetri Color Panel: Access tools for basic corrections and creative looks.
Color Wheels: Adjust highlights, midtones, and shadows.
Scopes: Use Waveform and Vectorscope to ensure accurate colors.
10. Advanced Effects
Take your edits to the next level with advanced effects:
Green Screen (Chroma Key): Use the Ultra Key effect to replace backgrounds.
Motion Tracking: Track objects and apply effects that follow their movement.
Text Animations: Create dynamic titles and lower thirds with Essential Graphics.
11. Exporting Your Video
Finalize your project by exporting it:
Go to Export Settings: Click
File > Export > Media.Choose Format: Select popular formats like H.264 for MP4 output.
Adjust Presets: Use presets for platforms like YouTube or Vimeo.
Export: Click Export or Queue (for batch processing).
12. Troubleshooting Common Issues
Encountered a problem? Try these fixes:
Playback Lag: Lower playback resolution or enable proxies.
Crashes: Update Premiere Pro and GPU drivers.
Missing Files: Relink media in the Project Panel.
13. Tips and Tricks for Efficient Editing
Maximize productivity with these tips:
Keyboard Shortcuts: Memorize shortcuts for faster editing.
Autosave: Enable autosave to prevent data loss.
Templates: Use project templates for recurring tasks.
14. Conclusion and Further Resources
Adobe Premiere Pro is a powerful tool that opens endless possibilities for creativity. With practice and persistence, you'll master its features and produce stunning videos.
For more resources, check out:
Post a Comment